Showing posts with label Cheese. Show all posts

Tuesday, September 18, 2012

Taste & Tattle Tuesday: Mason Jar Salads

Hi Everyone! Colette here!

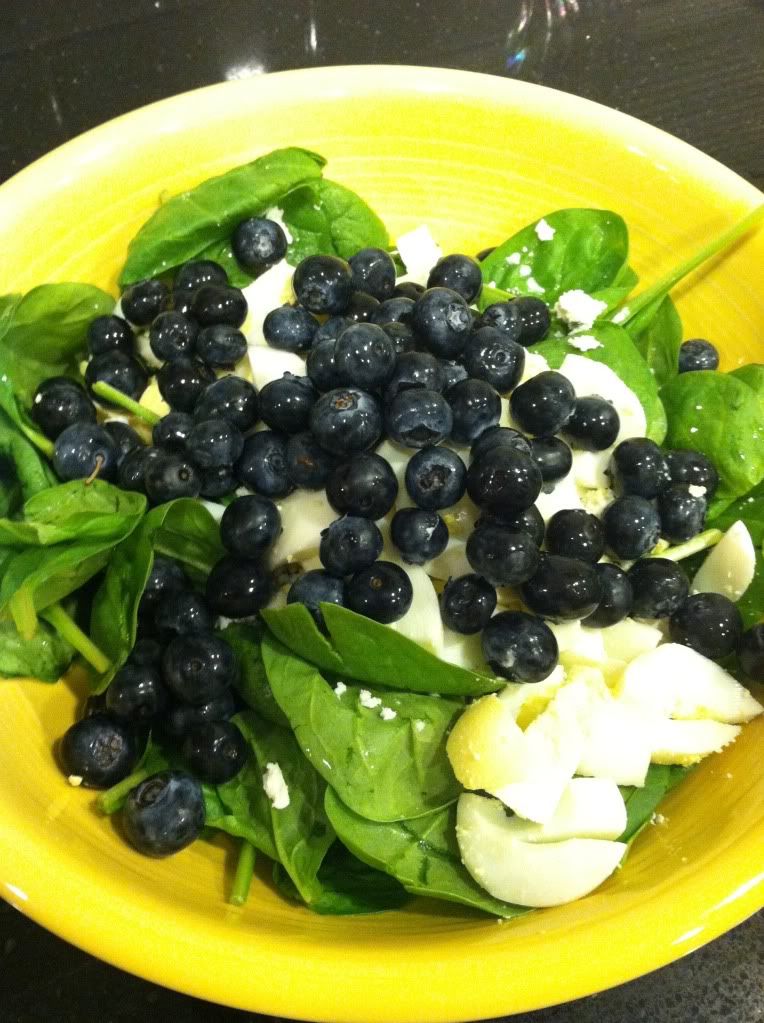
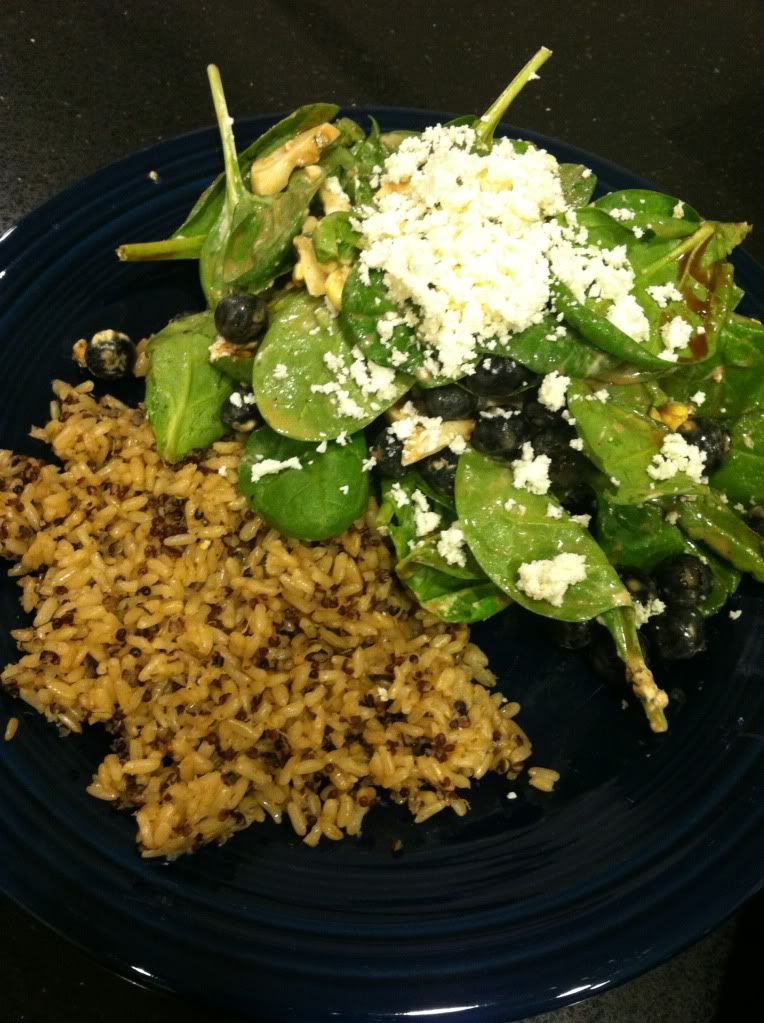
I know it seems like all I write about is salads (see here), but I have good reason! Salads are easy, diverse, and a good way to make sure you're getting 5 full servings of fruit and veggies a day.

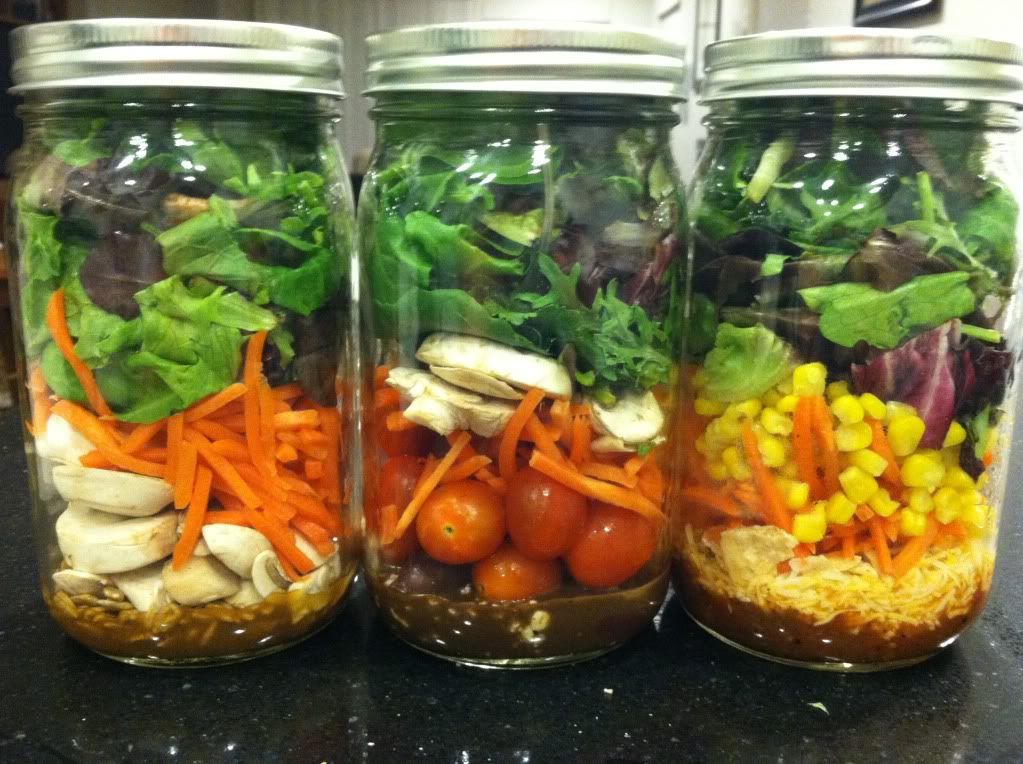
This week, I want to talk about something I saw on Pinterest: Mason Jar Salads.

Here's the picture that first sparked my interest:


I got my hands on three Mason Jars and decided to give my own spin on these a whirl this week. The salads will last in the jar up to 7 days, so I made all three of mine on Sunday. The nice thing about doing the prep ahead of time is that these are super easy to grab-and-go before work or school. 

Here's what I started with to make my salads:


I decided to make three different types of salad to make sure I had some variety in my lunches for the week (variety is the spice of life, right?). I made an Asian-inspired, a Greek-inspired, and a Southwest-inspired.

Now, most of these were made with things I just happened to have on-hand. I'm already plotting what changes and additions I can make in the future to add more protein and new flavors. But here are this week's creations:

Southwest Salad in a Jar
1 oz. tortilla chips, crumbled
1/3 cup shredded jack and cheddar cheese
1/4 cup jalapeno + cilantro salsa
Carrots (julienne)
Yellow corn
Greens (50% baby spring mix, 50% baby kale)

Asian Salad in a Jar
2 tbsp. Tastefully Simply Tangy Ginger Dressing
2 tbsp. sunflower seeds
Mushrooms (sliced)
Carrots (julienne)
Greens (50% baby spring mix, 50% baby kale)

Greek Salad in a Jar
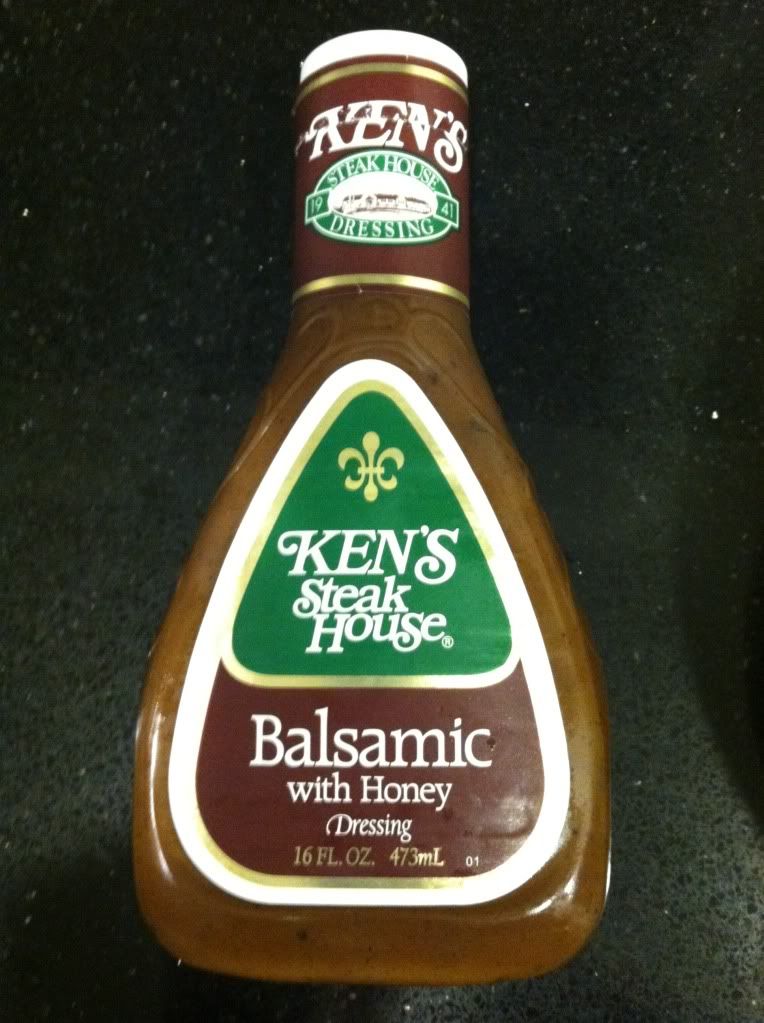
2 tbsp. Ken's Honey Balsamic Vinaigrette
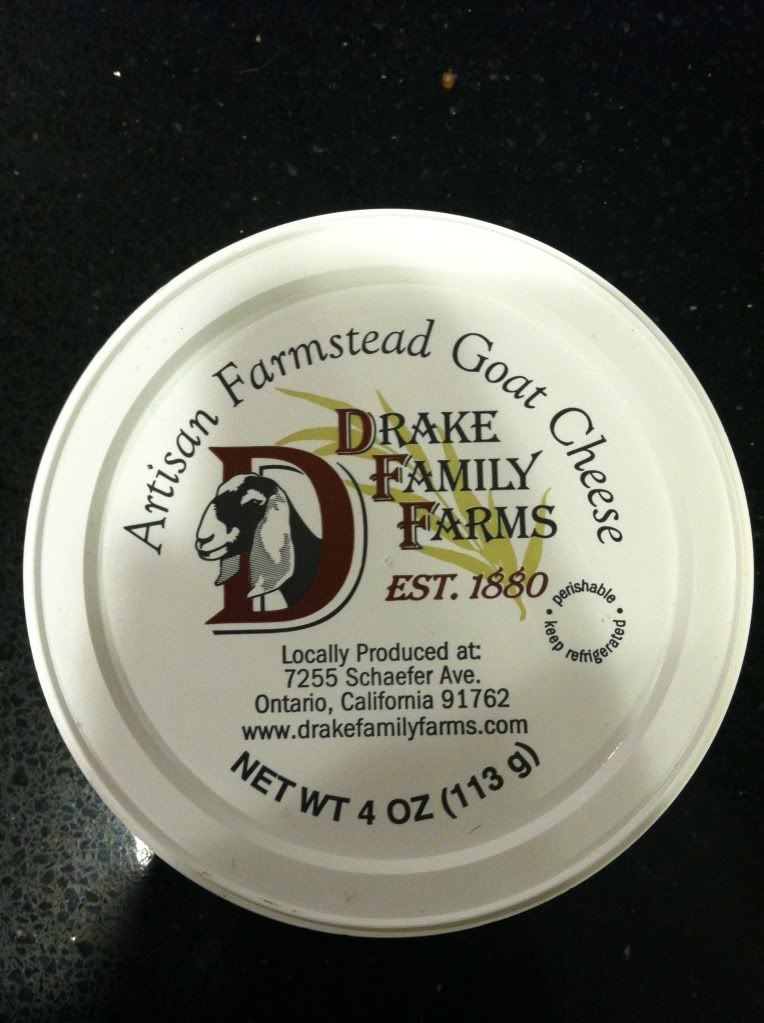
1/3 cup fat-free feta cheese
5 Kalamata olives
Tomatoes (grape, whole)
Carrots (julienne)
Mushrooms (slived)
Greens (50% baby spring mix, 50% baby kale)

I layered the salads by putting the dressing on the bottom of the jar. I topped that with cheeses and/or nuts. Then came the heartier veggies. Finally, the greens went on top (so, when you dump the jar out onto a plate, it will be on the bottom). Here's how the jars look, ready to go:

 
Do you bring lunches to school or work? What are your easy grab-and-go lunch solutions? What would you like to put in a mason jar salad? Leave your suggestions in the comments below!

Tuesday, September 11, 2012

Taste and Tattle Tuesday: Pea Risotto with Scallops

Hi Everyone! Today Lauren is presenting her spin on Tyler Florence's Sweet Pea and Scallop Risotto.

For the full original recipe, click here!

1. The first step is to make the puree. Set it aside.


2. Next, I get the chicken stock or broth warming up. I also start cooking some bacon. This recipe doesn't call for bacon, but I think it adds a nice salty element. Note: if you want to make this vegetarian, use vegetable broth/stock and forget what I said about bacon.


3. Next, you'll need to prep your celery, shallots, and peas (if frozen, let thaw). I choose to add a bit more celery and shallots than the recipe calls for. I love shallots, and I like a little bit of crunch.


4.  Saute the celery and shallots in a bit of olive oil. Then, add in the rice and make sure the rice gets coated in the olive oil. Tip: I do this with my Spanish rice, too! It just makes the rice better :)


5. Once step four is done, start adding a cup of stock at a time. Once the first cup is absorbed, add another. Repeat. You may or may not use all of the stock the recipe calls for.

6. Season with salt and pepper. It's important you add a bit, taste, and then, if necessary, adjust. At first, I'm pretty light with both because you can always add more.

7. Stir in the Parmesan and butter. Tip: use any Italian cheese you like. I prefer to use Pecorino Romano.  I also add more cheese than the recipe calls for.

8. Lastly, fold in puree and whole peas. Take off heat, cover, and set aside.


If you want to add scallops, you have a few more steps. If not, you're done!

9. Make sure you pat the scallops with paper towels, and then season on both sides with salt and pepper.


10. Warm a pan that contains a bit of olive oil and butter. Remember, never put anything in a cold pan. Do not crowd the scallops and do not add too much oil. If you do the first thing, they won't cook well. If you do the second thing, they will boil/poach versus sear.

11. Do not touch your scallops until you're ready to flip them. I wait for them to look a little less translucent halfway through, and then I flip them. I suggest using a fish spatula, if you have one.

12. I let my scallops rest on a paper towel.


 Then you're ready to plate your whole meal, and voila!


It's a fairly inexpensive meal that will blow people away. It's also easy to do, so don't be scared.

If you try this, please let us know. We'd love to hear about your experience with this recipe. Enjoy!

Tuesday, July 24, 2012

Taste and Tattle Tuesday: Summer Salad

Hi Everyone! It's Colette!

We hope you have been enjoying our "Taste and Tattle Tuesdays" thus far. We're looking forward to bringing you more fun stuff on this blog soon, so thanks for sticking around and reading. Make sure you check out our Facebook page as well!

Well, it's time for another taste and tattle post! You know how this works -- we share a theme/recipe/idea, and then you link up with your own creations below! If you don't have a blog to link, just leave your ideas in the comments section.


Today's theme is Summer Salads!

To me, fresh salads are the BEST part of summer. They're light, they're delicious...there's just something about salad that says summer to me. This is especially true when I've had time to swing by a local farmer's market to pick up great ingredients. That's what I did this week!

Here are my tips for what make a great salad: 

A good base. Remember when salad used to be that brownish iceberg stuff that they slapped on your lunch tray in the school cafeteria? That's not food. Play with what you use as the base for your salads by trying lots of different greens. When you find some you like, start mixing them to create new combinations. 

An amazing dressing. But DON'T slather it on. Let the flavors you've assembled do their job; the dressing should just be a nice accent.

One of my personal favorites, and the one I used for the salad recipe on here today. It's a perfect mix of sweetness and spice, and the honey makes it creamy without extra fat that you get in an actual cream-based dressing, like Ranch or Caesar.

Add texture. For the recipe I'm sharing today, I didn't do this as well as I should have. Part of what makes a salad a great dish or meal is the texture. Add nuts, seeds, fruits, meats, cheeses -- lots of different options when you're assembling your veggies. Also, add veggies of different sizes and textures as well.

Cheese. Salads need cheese. Not too much, but enough to give you some extra tang or kick. My favorite booth at the local farmer's market is "The Goat Cheese Man." (That's not their real name, that's just what I call them)

They have many different flavors. The one we used (pictured here) is herb and garlic goat cheese.

Make sure there's protein! You get a little bit from the cheese, yes, but the key to making a salad a real meal is having a protein component. This doesn't have to be meat - you could also use eggs, nuts, beans, or some grains (like quinoa). 

So, now that you know the basics of a good salad, let me share mine:


Ingredients:
  • Fresh spinach
  • Hard boiled eggs
  • Herb and Garlic Chevre (goat cheese)
  • Blueberries
  • Ken's Balsamic with Honey Dressing
That's it! Toss and serve! I had mine with some quinoa and brown rice:


So, now that you've heard from us, we want to hear from you! What's your favorite summer salad? Do you have any salad making tips or tricks you swear by? Let us know in the comments!